
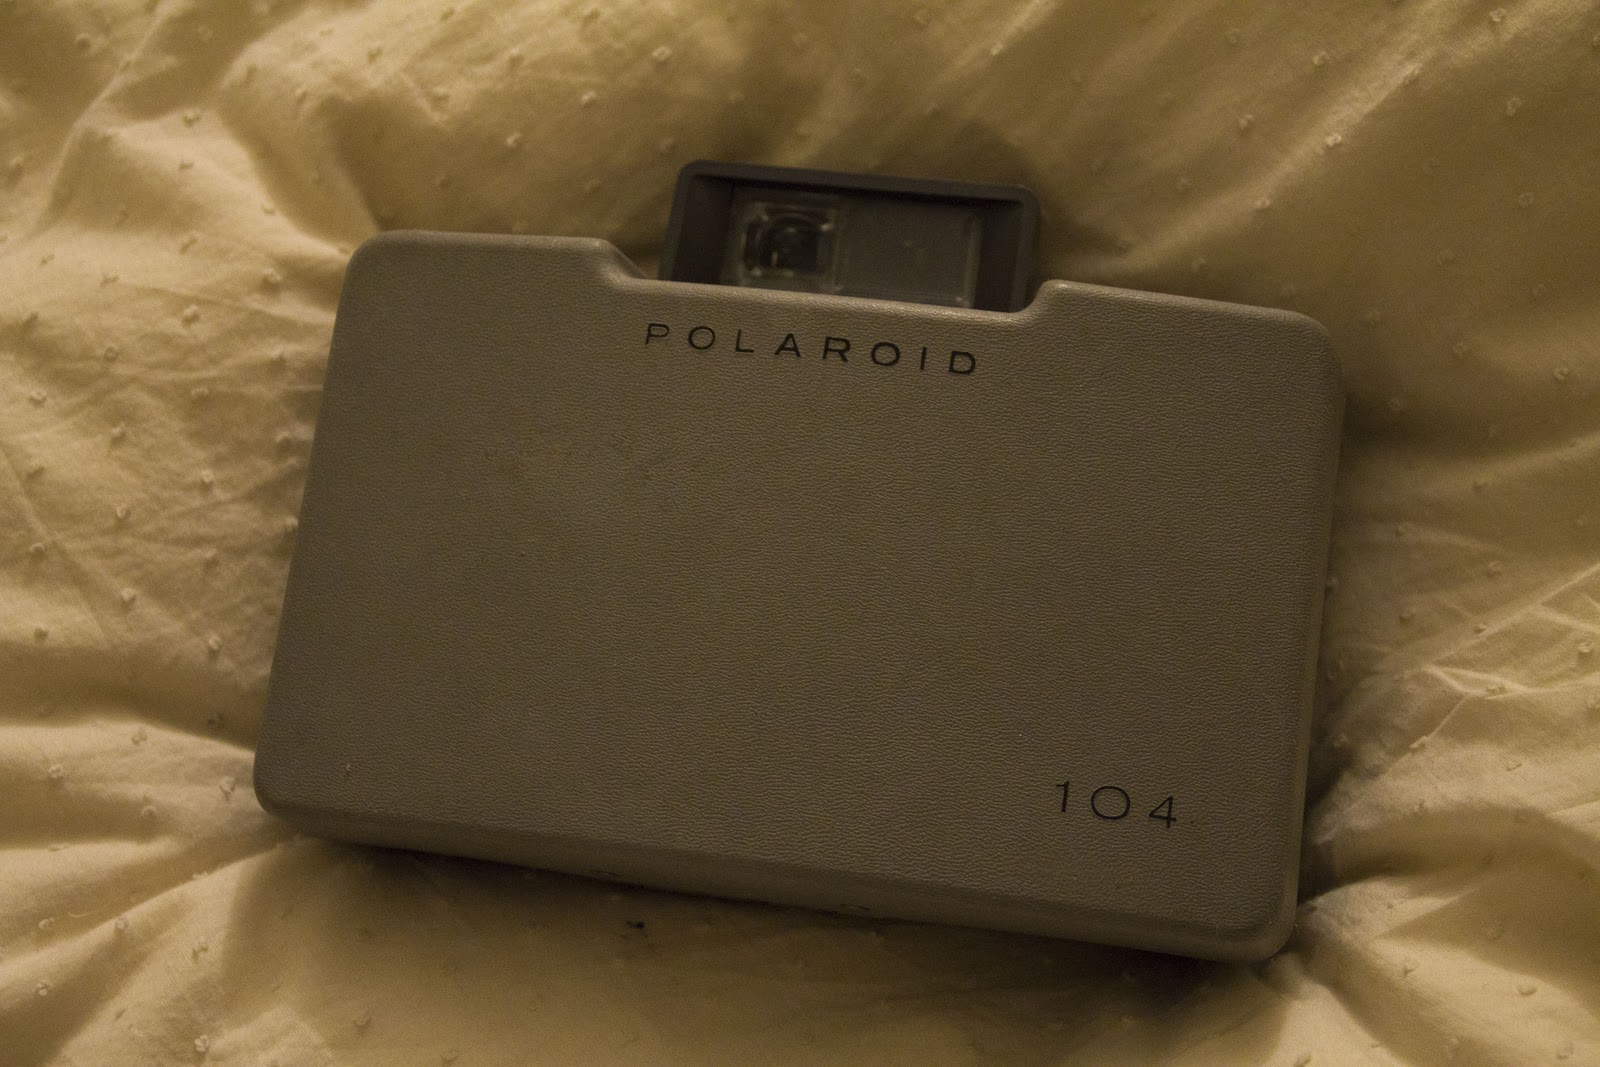

I've had it for many a year, This month I learnt to fix the corroded battery compartment and actually take photos using it. Not only this but I learn some nice nifty techniques that look pretty pretty nice!
This is the battery compartment and the new battery:

It's not the right battery (as they dont make them any more), so I had to melt quite a lot if plastic and alter the + & - attachments to make it fit. Luckily the connections worked a treat so the cameras actually worked.
The Camera take FP-100c film:

I have Plenty of this film in the freezer, plus some already in the camera so I was ready to go. I did a few test shots just to make sure it was all working. The film, which you need to pull out of the side of the camera, is in two parts. A positive side - the image and the negative side- a negative which is black and surrounded in the paper you pull. You need to develop the image inside the silver plates for 1 minute then pull apart.
Once done you can choose to disgard the negative or use it for an emulsion lift.
Emulsion lift 1:
Basically the emulsion lift has to happen fast. Whilst the negative is still wet, place it emulsion side down onto another surface - paper/glass/material, and press hard, maybe use a roller or something. Once you're satisfied you can lift the paper and you're left with a rough faded version of your positive image.
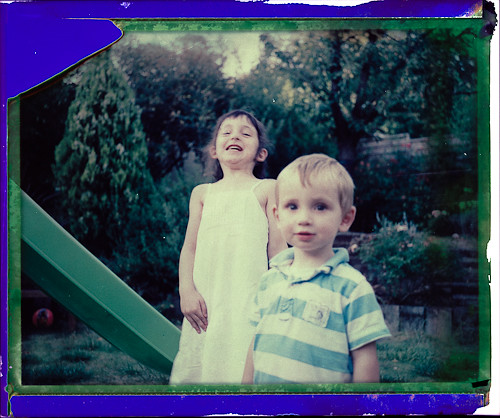
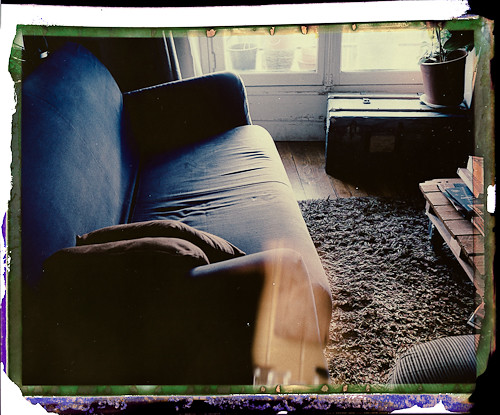
Emulsion lift 2: (the pretty amazing lift)
This includes quite a few steps so I will post a video of exactly how its done, but basically you need boiling water, a new surface and the positive image. You place the photo into a bowl of boiling water and wait like 30 seconds. You take tweezers and you can slowly seperate the image (a silk like material image) from the backing. Remove the backing and let the image spread out. carefully mount it onto your new material.

This is how I did it with my trial image, It looks crap but I managed with minimal tearing. The images, in my opinion look best on glass and things.
My image is black, because the picture I took turned out that way. If I had used my daylight one the image would've been exactly the same as before the process.
These examples are truly truly amazing:


How to video:
Making a Negative from a polaroid:
At first I didn't actually believe this could be done, but its the easiest thing to do and involves only bleach, tape and the negative part of the polaroid - yes that black, paper part that most people throw away!!
All you need to do is drip diluted bleach onto a a taped down polaroid (emulsion side down), spead the bleach all over and then with tissue wipe off. There are a few ways to do. but it really is that easy. you can then clean it up - careful not to scratch it to much, unless you want it like that.
Mines looked like this:

Other examples once scanned look like this:
I'm pretty excited about these techniques. I have 40 shots left to use and once I've discovered my subjects, I'll be putting these to the test.
No comments:
Post a Comment